It has been four months since I came to Orsay, France. When I came, I brought limited materials for my art and craft and had to sell most of the staffs. However, I feel even if materials were limited, because of my strong addition to quilling [now that I am 100% convinced about that !! ;)], I was in full swing all these months to create almost close to 20 projects. I would love to continue more and more and I wish and pray that this time I can seriously put my effort to do something in larger scale and in a more regulated and professional way.

Crimson red, cream and black text strips (each 3 mm width, high gsm) from A1 craft supply is used to outline the gown, body and hair respectively. Thank you, Neha Gala, for providing the nice text strips to work with.


With that small introduction, I am introducing my latest creation of the quilled picture series. Here comes the beautiful and sweet "PINK LADY", walking along the path of love and happiness.
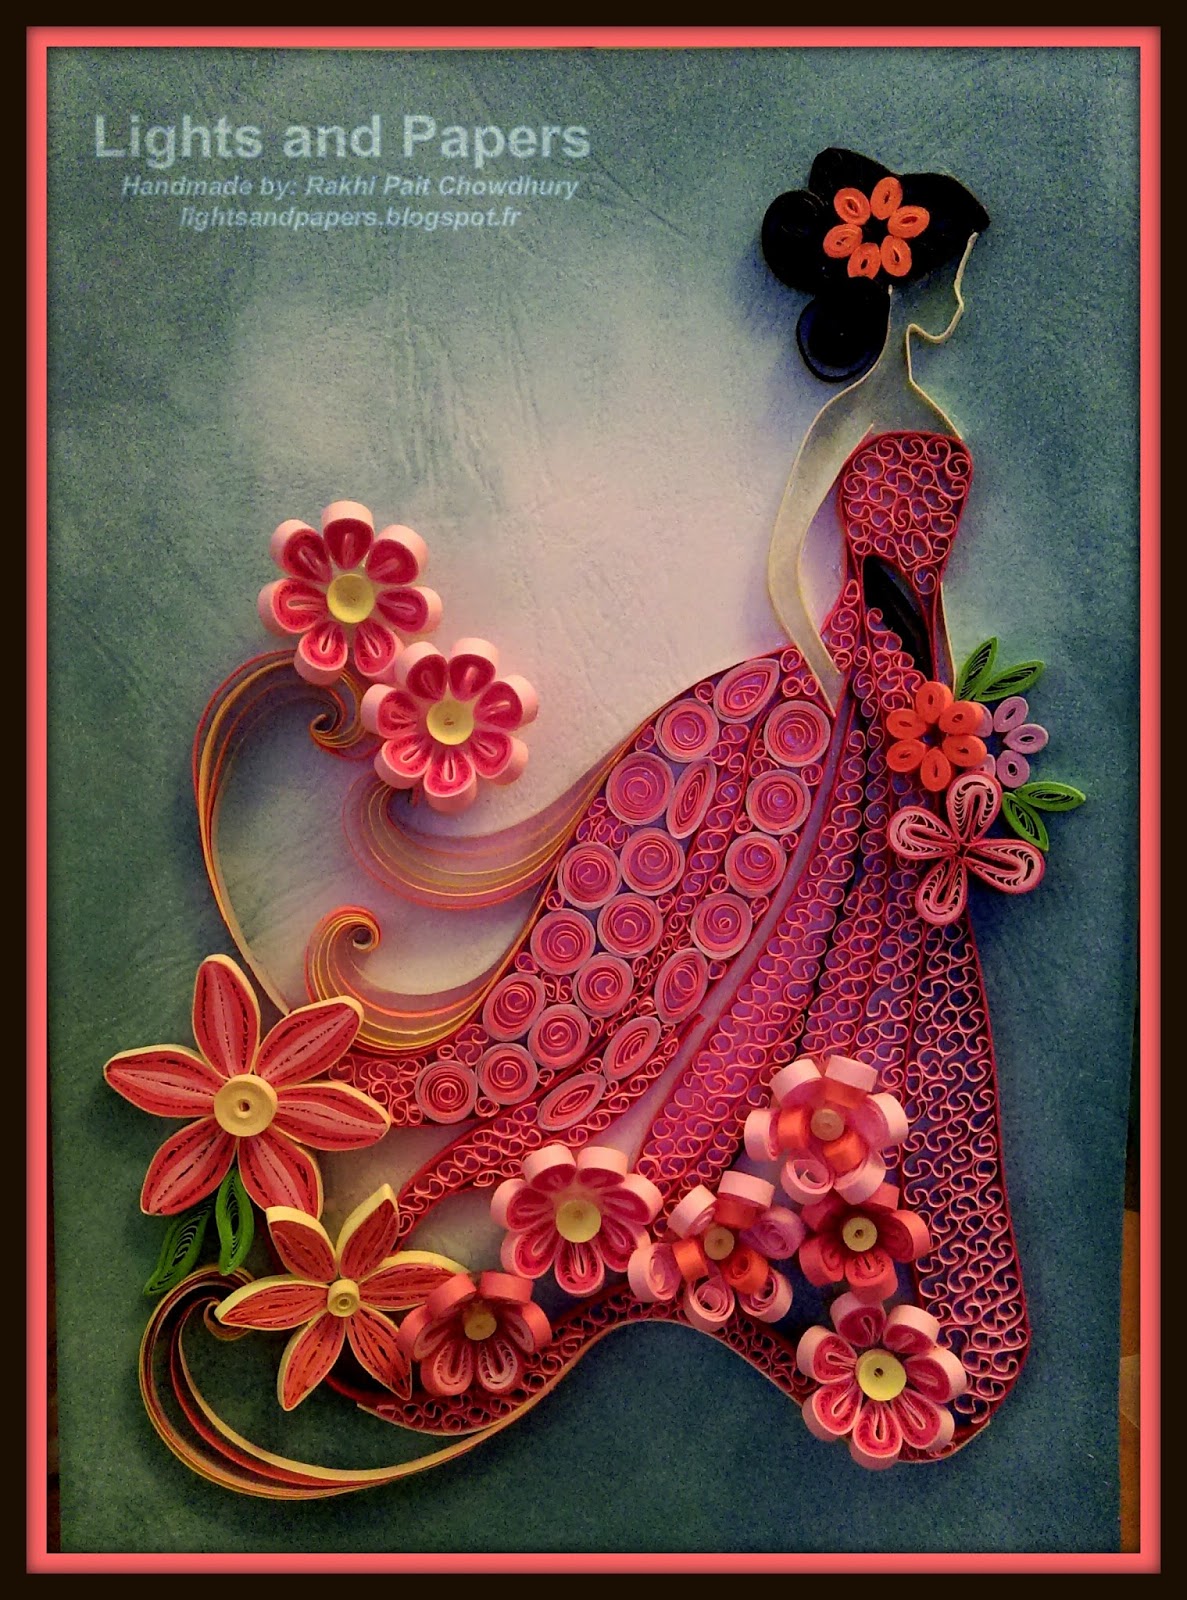 |
| The Pink Lady, as I named her, who is ready to walk the path of love and happiness |
As with any quilled typography project, the steps are similar. The quilled picture and monogram series is wisely planned to be done on 6/8 inches card stocks, as I had limited materials. This one is also done on a white textured card stock paper, on which distressing effect is created with broken china ink from Tim Holtz and 3 coats of the ink in applied. The impression of the picture (hard copy print on any plain paper) is taken on the cardstock, which is very easy on these kinds of softly textured papers and you really do not have to press very hard to get a nice impression from the print (as shown below). Please use a pencil and just take an impression by keeping this printed paper on the cardstock (within the given area) and pressing a pencil over the outline with an optimum force.

The next steps are outlining, filling and decorations.
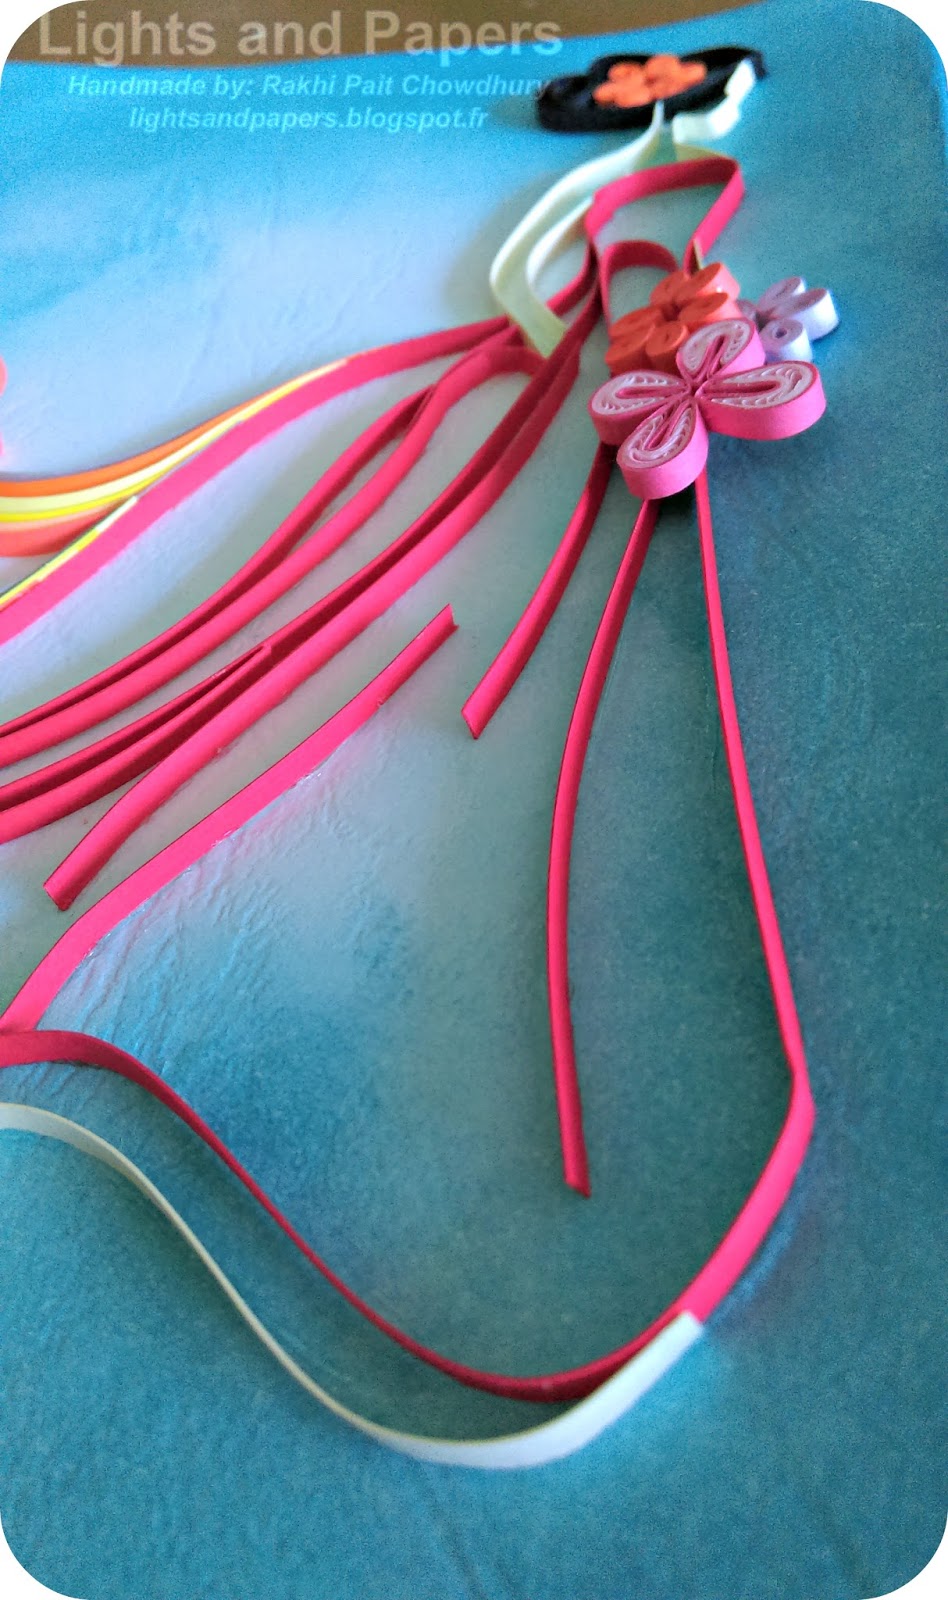 |
| Zoomed view of the outlining |
Crimson red, cream and black text strips (each 3 mm width, high gsm) from A1 craft supply is used to outline the gown, body and hair respectively. Thank you, Neha Gala, for providing the nice text strips to work with.
 |
| The Silhouette is Completed |
Even if one wants to create a simple silhouette project, this can become the completed project by itself.
I was planning to work on it further. The composite flowers as shown at the left down corner on the gown are created with 3 mm wide papers. The length of 5.5 inches of dark and light pink paper strips and the length of 4 inches of light pink and orange color paper strips were used to create the larger and smaller composite flowers with marquise shape.

Series of beehives and spacious filling with loose coil or teardrop shapes in pink shades were followed to complete the work of the gown. Small Malaysian and tight coil flowers were made separately on a silicone glue base and were used for decorating the gown.


Once more the completed project with a side view. I really loved working on this and I hope you all will like her as well.

Thank you all for reading my post and please visit my page "Lights and Papers" in Facebook. Hope to present more such projects with time.
No comments:
Post a Comment